


Managing outdoor events means always staying two steps ahead of the weather, especially if there is any potential for strong winds or rain to blow through and create chaos. Since such an important part of successful outdoor event management is providing reliable shelter for your staff, guests, and merchandise, planners must carefully choose the best canopy for wind and rain and understand how to correctly secure the canopy to keep it from blowing away! In this guide, we cover the specific features you should look for in a sturdy, weather-proof canopy and provide a detailed step-by-step process you can follow to make sure that the canopy stays put even in harsh weather.
What Features to Look for in a Canopy
The best canopies are built with high-quality materials that can withstand all kinds of conditions. You’ll want a solid frame to keep your canopy stable and the right fabric materials to establish effective protection against the elements.
The frame of your canopy should be thick and durable to allow it to hold up against the stress of high winds, heavy rain, and frequent use without bending or breaking. Cast aluminum is a great choice for frame material, because it’s lightweight yet strong, making it easy to set up and move while still offering impressive structural support. What’s more, aluminum is corrosion-resistant, meaning it will not rust even when exposed to rain and snow over a long period of time. This makes cast aluminum frames ideal for outdoor use, offering both strength and long-term durability, while still keeping the overall weight of the canopy manageable for easy transport and setup.
For complete protection against bad weather, you will want to purchase a canopy with a waterproof roof and walls. The fabric should be made with materials like polyester with a protective coating or PVC. Here at Instent, we use 600 Denier Polyester fabric, which is thicker and more durable than standard polyester, offering better protection against harsh conditions while maintaining flexibility and ease of use. Using tough materials like this will prevent rain seepage, keeping your guests dry and your belongings protected. Additionally, sealed seams are essential to prevent leaks, ensuring the canopy’s durability even in heavy downpours.
Securing Your Canopy, Step-by-Step

1) Know the Limits
Understanding how much wind a canopy can reasonably take is crucial for determining whether yours can withstand the conditions you expect. While most can handle gentle breezes up to 30 mph, sturdier canopies designed for windy conditions may be able to take gusts up to 40 mph or more. If you anticipate high winds beyond this, it’s important to take extra steps in securing your canopy or consider using another structure. Be sure to check the manufacturer’s specifications to understand if it is the best canopy for you. Knowing the limitations of your canopy will help you decide how to anchor and reinforce it for greater safety.
2) Find a Good Setup Site
The ideal location for your canopy is somewhere where the ground is flat, elevated, spacious and clear of obstacles. A sloped surface can cause the canopy to shift or tilt, making it less stable and more likely to be damaged by high winds or heavy rain. Look for level ground that will allow the canopy to remain steady and ensure the weight of any anchors or equipment is evenly distributed.
Low-lying areas can be especially prone to water pooling or flooding, so you should avoid these types of places for setup. Instead, look for an elevated area or spots with good drainage to reduce the chance of water damage. Consider the ground surface—dirt, grass, and gravel typically allow water to drain better than concrete or asphalt.
You will also want to avoid areas with overhanging trees, nearby power lines, or other structures that could pose a risk. Overhead branches or cables could interfere with the canopy, especially in high winds, causing damage to the structure or posing safety risks to those underneath. Choose a location that provides enough space for people to move around comfortably and for your canopy to be properly anchored without needing to exist too close to such structures. Confirm there’s enough room for any equipment or event furniture you plan to place under the canopy without crowding or obstructing the area.
3) Inspect the Canopy Before Use

Perform a thorough inspection before setting your canopy up, looking closely for any signs of damage. Check the frame for any rust, bends, or cracks, as these can potentially compromise the canopy’s ability to withstand wind. Make sure that the frame is fully intact, with locking mechanisms secure enough to keep the canopy stable and legs standing firmly on the ground without wobbling.
Check the fabric roof and walls for any tears, holes, or fraying edges, which might allow water to seep through or weaken the structure under wind pressure. The seams should be tightly sealed to prevent leaks, particularly if the canopy is designed for rain protection. For windy conditions, you may want to opt for a lower height to reduce exposure. Lastly, confirm that all anchors and tie-downs are in good condition, as proper anchoring is crucial for securing a canopy in high winds and preventing it from blowing away.
4) Set Up the Frame and Attach the Fabric
To ensure the setup process is efficient and that the canopy functions as intended, always refer to the canopy’s manual and follow the manufacturer’s guidelines for setup. The instructions often include critical information on how to secure the canopy, how much wind the canopy can withstand, and safe load-bearing limits.
The setup process for most canopies will include expanding the frame, locking the joints, and attaching the canopy top. When the frame is raised to its full, you will lock all the joints into place per the manual, making sure to double-check that each locking mechanism is secure to prevent collapse during use. After this is done, you will then drape the canopy fabric over the frame and attach it using the designated velcro straps, clips, or ties on the frame. Next, tighten the canopy fabric evenly to prevent sagging.
5) Establish Proper Canopy Slope and Tension

When attaching and tightening the fabric on your canopy, you’ll want to be mindful of both slope and tension, as these elements impact how wind interacts with the structure. A steep, properly sloped canopy roof allows wind to pass over smoothly, ultimately reducing pressure on the frame and minimizing the risk of damage. Conversely, a flat or sagging roof can result in water pooling or the fabric catching wind and creating a sail effect that lifts the structure. To keep the canopy from blowing away, check that all corners and edges are tightly secured, and make adjustments as needed to eliminate slack. If your canopy has adjustable tension straps or hooks, use them to fine-tune the fit for optimal performance.
6) Anchor the Canopy to a Surface
One of the most important steps in keeping a canopy from blowing away is using heavy-duty anchors to keep everything firmly attached to the ground. Standard stakes may not be enough in windy conditions, so choose heavy-duty anchors such as ballast sandbags or professional steel stakes. For added security, you may even consider using multiple types of anchors.
If setting up on grass or dirt, drive your stakes deep into the ground for maximum grip. Ideally, at least two-thirds of the stake’s length should be buried to provide optimal hold. In soft, sandy, or muddy areas, longer stakes or additional reinforcement may be necessary. Tug gently on the stake after installation to make sure it’s firmly embedded and doesn’t move. If the stake shifts easily, reposition it or use a heavier-duty option.
Sandbags are ideal for concrete, asphalt, or hard surfaces where stakes cannot be embedded. Simply wrap them around the base of each canopy leg or attach them to tie-down points using sturdy straps. Stack multiple sandbags for increased stability, making sure to distribute their weight evenly across all sides of the canopy.
7) Use Tie-Downs and Guy Lines
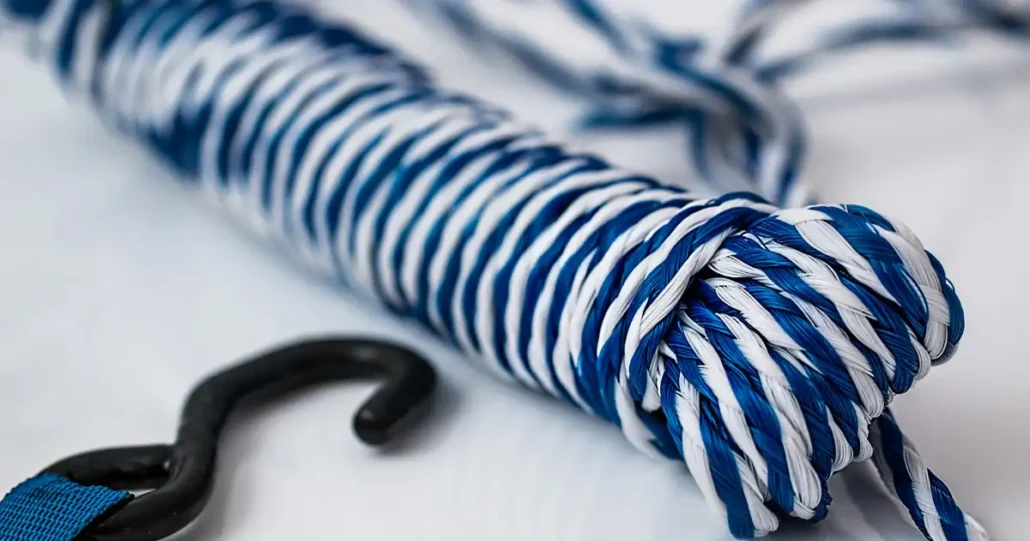
Even the best canopy for windy conditions can benefit from some additional help. Tie-downs or guy lines are a type of cord that can provide significant reinforcement by securing your canopy frame to a more solid structure or nearby anchor point. Both are similar in purpose but slightly different in application. Tie-downs are often attached to the legs or lower points of the canopy for vertical and horizontal stabilization. However, guy lines are specifically designed for angled tension and are typically used to stabilize the top or sides of a canopy against lateral wind forces.
Once the canopy is in place, reinforcing it using either tie-downs or guy lines helps ensure it can stand up to whatever the weather throws at it. Just be sure to keep them tight to prevent slack but not so tight that they strain the canopy frame. You will also want to make sure they are properly angled to distribute tension evenly across the canopy, preventing it from becoming unstable in windy conditions.
8) Check for Stability
After assembly, you’ll want to verify your canopy’s structural integrity by double-checking its overall stability and alignment. If the canopy begins to sway or tilt, try re-adjusting the anchor points or redistributing weight until it is stable. Make sure the weight is spread evenly across all four corners of the canopy or the support legs to create a balanced, stable foundation. Even small adjustments in weight distribution can significantly improve stability.
Throughout the event, continually assess the canopy’s performance, especially if the weather conditions change. Wind, rain, or even temperature fluctuations can impact the tension and stability of the structure. Regular checks and adjustments during setup and the duration of the event will help maintain the integrity of your canopy, ensuring that it remains secure under windy conditions.
3 Tips for Efficient Canopy Setup

1) Make a Checklist
Before arriving at the event site or beginning setup, take the time to plan and organize your materials and tools. Make a checklist and gather everything you need in advance, such as:
- Weather-proof canopy frame and fabric
- Anchors (stakes, sandbags, or weights)
- Tie-downs or guy lines
- Tool kit (for tightening bolts or adjustments)
- Ladder or step stool (for high-mounted adjustments)
Having all the necessary items on hand will help prevent delays during the setup process and minimize confusion or misplacement of equipment.
2) Work in Teams
Setting up a canopy, especially a large one, is much easier and safer when done with a team. Divide the setup tasks among team members to speed up the process and reduce the chance of mistakes or accidents. Assign one person to manage the frame assembly, another to secure the anchors, and others to tighten the canopy fabric or set up lighting or additional components. Teamwork allows you to move quickly and efficiently while ensuring everyone is safe.
3) Check the Forecast
Try to begin setup during favorable weather conditions, as this can make the process smoother and ensure the canopy remains stable throughout the event. For instance, if rain is expected, it’s best to set up the canopy before the precipitation begins to keep the setup area dry. Similarly, if high winds are forecasted, setting up the canopy during calmer conditions allows for proper anchoring and adjustments to withstand the wind. Aligning your setup time with the forecasted weather will allow you to take advantage of mild conditions and ultimately enhance the safety and longevity of your setup.
Conclusion
Securing a canopy that can withstand wind and rain requires the right equipment, careful planning, and attention to detail throughout the whole process. While you can’t control the weather, you can control the outcome of your outdoor event by choosing the right canopy for the conditions and knowing the proper steps for securing it so that it can reliably hold up against whatever the day brings.